


Gatsby is built on top of React and includes Webpack and GraphQL. It's a component of Jamstack, an architecture designed around decoupling and pre-rendering sites.
DatoCMS is a headless CMS solution that serves as a central hub for content. Combining DatoCMS and Gatsby we achieve the decoupling of design and content into a statically compiled site we can distribute with a service like Gatsby Cloud, Netlify or AWS Cloudfront/S3.
First, we need a DatoCMS account. Their pricing is fairly competitive but for a small project or a site with low traffic the free version is more than adequate.
Once you have your account set up, let's create a new project.
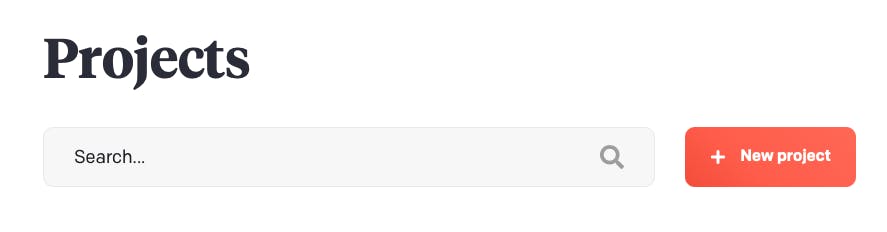
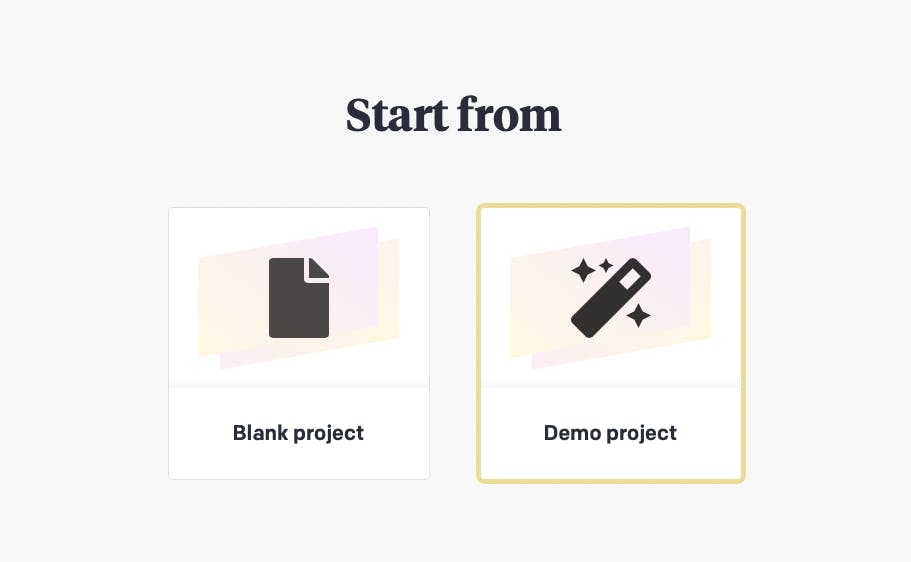
For this article, we'll start with a blank project. Enter a name for your project when prompted. Once created you can enter the project and get started adding content.
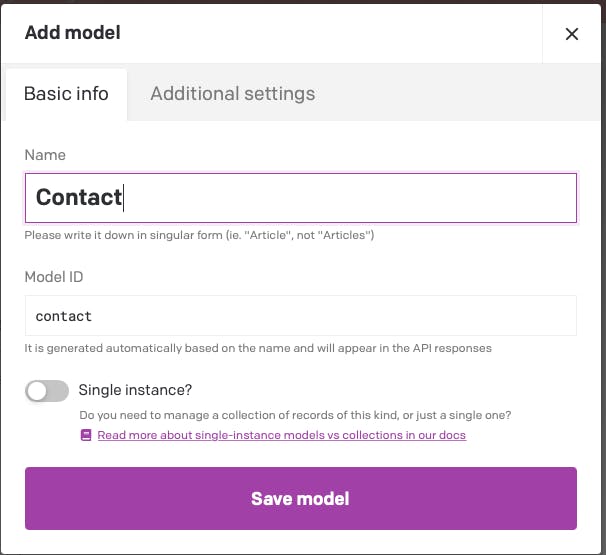
Models are the foundation of content in DatoCMS. You create models like Article, Product, Category etc. We'll create a very simple contact us page so we'll call our first model Contact.
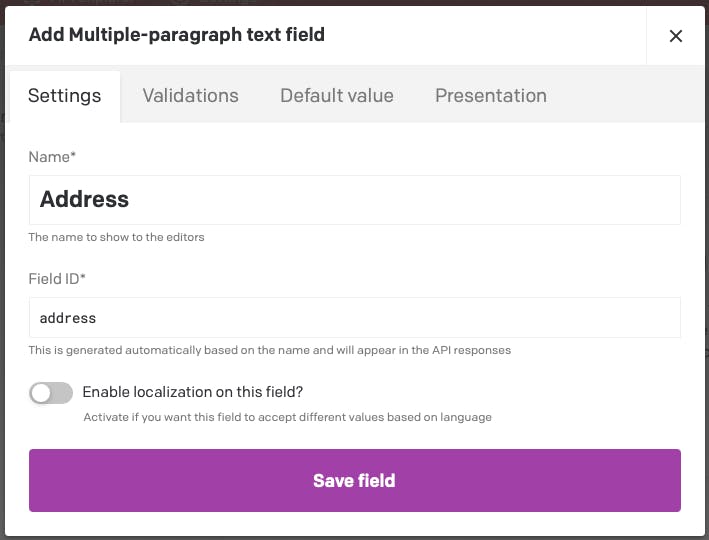
We then need to add some fields to the model. Our first field will be a multi-paragraph text field. For now, we won't worry about validations like required or limit character count but those options are available to you.
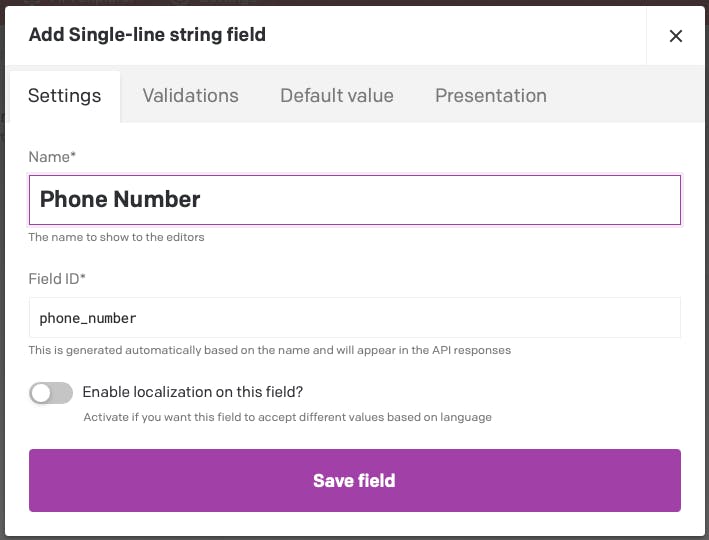
The next field will be for the phone number. It will be a single-line string
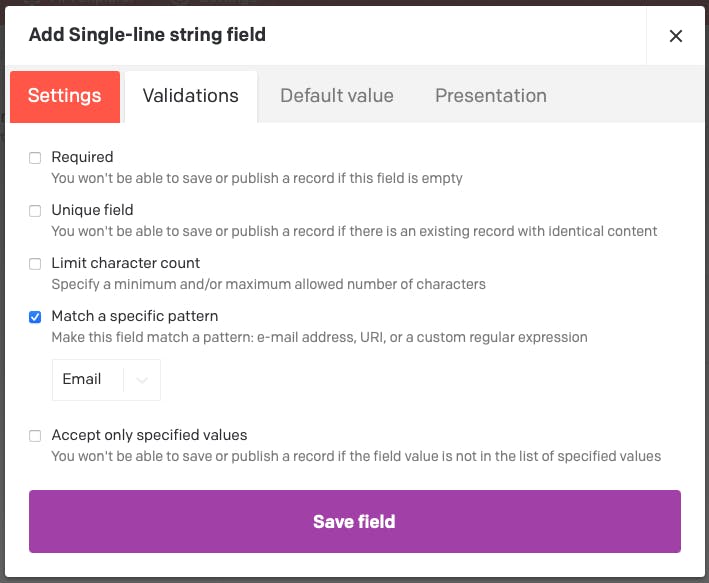
The last field will be for the email address. We will use validation on this field to enforce an email format is added to the field.
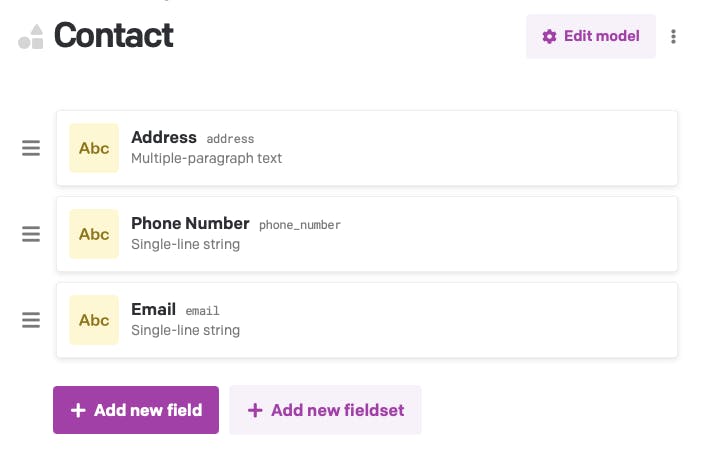
Your Contact model should look like this once you've added all three fields.
Now to add the content. Select the Content link in the top left corner and then the Contact model. Let's add a record.
Before we move on to setting up Gatsby, we'll need the API token that's automatically generated for us. Go back to Settings and on the left side select API tokens. Select the Read-only token and copy the API key to the clipboard. We'll be using it shortly.
We'll create a new Gatsby project using the npm init command:
npm init gatsby
Follow the prompts and enter a site name, the directory you'd like the site created in and when prompted for "Will you be using a CMS? select DatoCMS from the options.
Select no styling system for the moment and then select Done. As you can see you can set up responsive images, add your Google Analytics tracking script, sitemap, etc. but for this exercise, we'll leave those aside.
After selecting Done, you are prompted for the apiToken we copied from DatoCMS. Go ahead and paste it here, hit enter and then select Yes.
Once the site is built you can open the folder in your favourite editor. If you navigate to gatsby-config.js you'll notice the apiToken has already been added for you as an option to the gatsby-source-datocms plugin. This plugin was installed for you when you selected the DatoCMS option during setup.
module.exports = {
  siteMetadata: {
    siteUrl: "https://www.yourdomain.tld",
    title: "DatoCMS Demo",
  },
  plugins: [
    {
      resolve: "gatsby-source-datocms",
      options: {
        apiToken: "0435f232c1c8b6a7e4f469f1504aa1",
      },
    },
  ],
};
It is a read-only token so it's not a concern it is going to end up in your source code repository but I find it better to always assume API tokens are secret. So we'll make this adjustment now by installing the npm package dotenv. I'll be deleting this project when I'm done here so the token will become invalid.
yarn add dotenv
Create a .env file in the root of your folder and add this line to it (replacing the token with your own):
API_TOKEN=0435f232c1c8b6a7e4f469f1504aa1
Update your gatsby-config.js and add the new dotenv config, where process.env.API_TOKEN is a reference to the value in the .env file.
require('dotenv').config()

module.exports = {
  siteMetadata: {
    siteUrl: "https://www.yourdomain.tld",
    title: "DatoCMS Demo",
  },
  plugins: [
    {
      resolve: "gatsby-source-datocms",
      options: {
        apiToken: process.env.API_TOKEN,
      },
    },
  ],
};
Be sure to update your .gitignore file and add .env to it.
Ok, let's start up the development server and when it's up open a browser and go to localhost:8000/__graphql. Gatsby includes the GraphiQL tool and it's here where we'll first see our DatoCMS content. Start your development server by running the following command:
yarn develop
You'll notice all of the DatoCMS data available to us in the GraphiQL editor: allDatoCmsAsset, allDataoCmsContact, allDatoCmsField etc.
If you navigate in the explorer to "datoCmsContact", the model we made in the DatoCMS editor, and open the toggle, you'll be able to select the address, email and phoneNumber. Run the query by selecting the play button.
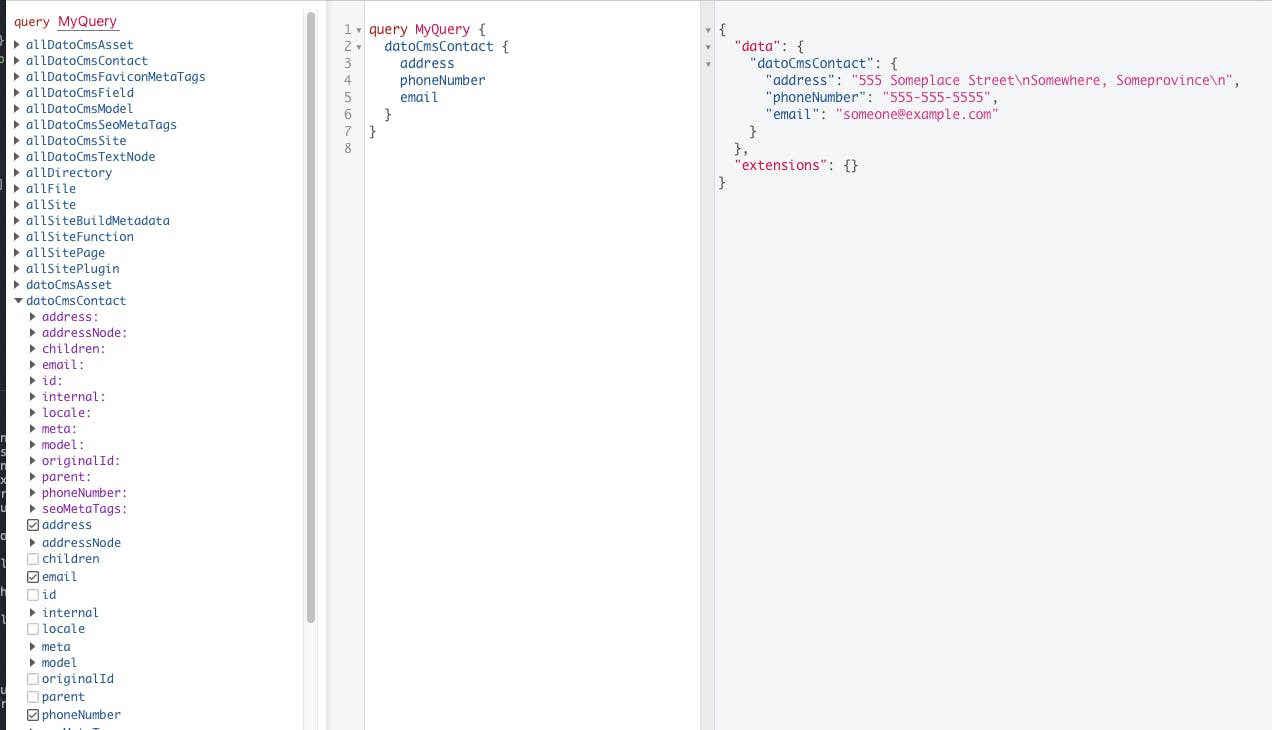
It's magic. There it is, the content we made in the DatoCMS editor and we can now work with it on our site.
We're almost there. Let's add it to a contact page so visitors to our site can get in touch with us.
In your code editor open the src folder and then add a new page to the pages folder. Let's call it contact.js. Add the following code to the page.
import React from 'react'

const Contact = () => {
  return (
    <div>
      <h1>Contact Us</h1>
    </div>
  )
}

export default Contact
If your development server is still running (if not run yarn develop again) you can open your browser to localhost:8000/contact. You should see a very sparse Contact Us page.
Ok, so how do we get the contact information on the page? Well, we use two built-in Gatsby features, useStaticQuery and graphql. We add them to the page by adding the import line below:
import { useStaticQuery, graphql } from 'gatsby'
The finished file will include the useStaticQuery React Hook to retrieve the data via a GraphQL query that will be injected into the page.
  const data = useStaticQuery(graphql`
    {
      datoCmsContact {
        address
        phoneNumber
        email
      }
    }
  `)
That should look a little familiar. Remember when we queried for the data using the GraphiQL tool? It looked almost identical.
query MyQuery {
  datoCmsContact {
    address
    phoneNumber
    email
  }
}
Let's finish the page. You can replace the contents of contact.js with the code below:
import React from 'react'
import { useStaticQuery, graphql } from 'gatsby'

const Contact = () => {
  const data = useStaticQuery(graphql`
    {
      datoCmsContact {
        address
        phoneNumber
        email
      }
    }
  `)

  return (
    <div>
      <h1>Contact Us</h1>
      <p>{data.datoCmsContact.address}</p>
      <p>{data.datoCmsContact.phoneNumber}</p>
      <p>{data.datoCmsContact.email}</p>
    </div>
  )
}

export default Contact
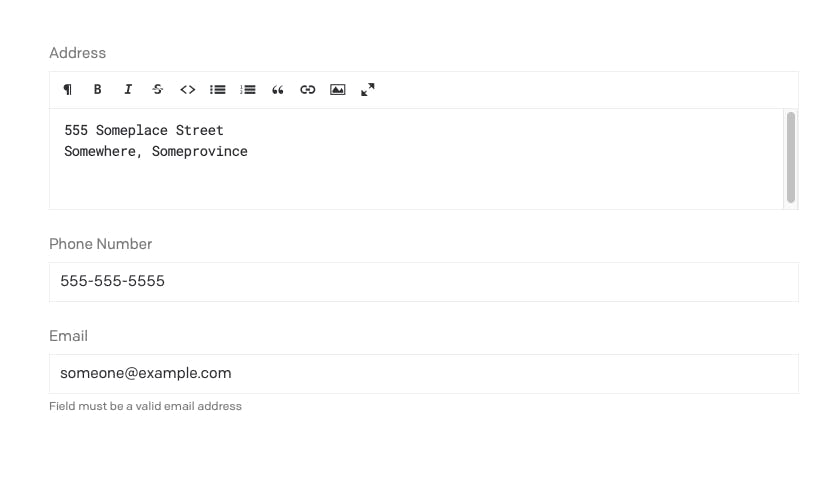
You should see the address, phone number and email now. It's not going to win any design awards but you've successfully queried the data from DatoCMS and added it to a page in Gatsby.
One last thing before we go. ES6 gave us a way to "unpack" values from arrays, or properties from objects, called Destructuring. Instead of writing {data.datoCmsContact.address} we can get that down to simply {address}. Here is the revised contacts.js file:
import React from 'react'
import { useStaticQuery, graphql } from 'gatsby'

const Contact = () => {
  const {datoCmsContact: {address, phoneNumber, email}} = useStaticQuery(graphql`
    {
      datoCmsContact {
        address
        phoneNumber
        email
      }
    }
  `)

  return (
    <div>
      <h1>Contact Us</h1>
      <p>{address}</p>
      <p>{phoneNumber}</p>
      <p>{email}</p>
    </div>
  )
}

export default Contact
I hope this gave you an overview of how a headless CMS like DatoCMS would work with a static site generator like Gatsby. If you have any suggestions or corrections to make please feel free to let me know.