Using Amplify UI's Authenticator with Gatsby
AWS recently announced a new version of the Authenticator component for Javascript-based apps. I thought I'd write up a brief introduction to setting up the authenticator and hosting a Gatsby site on AWS Amplify.
This sample app uses Tailwindcss and Gatsby but is based on the blog post found here.
To start, open this Github repository and click the "Deploy to Amplify Console" button. You will need an AWS account and this example will work with the free tier. Once the repository is forked into your Github account and the deploy process is complete, clone the repo locally and we can start.
The first step is to install the Amplify CLI:
npm install -g @aws-amplify/cli
You can verify the install was successful if this command returns a version number:
amplify --version
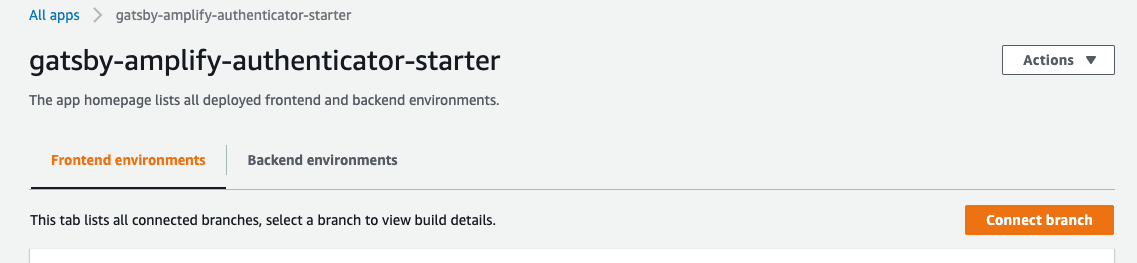
Now that Amplify is installed we can create the app backend authentication. Navigate to the Amplify app that was installed when you selected the "Deploy to Amplify Console" button. Select the backend environments tab.

Select Get Started.
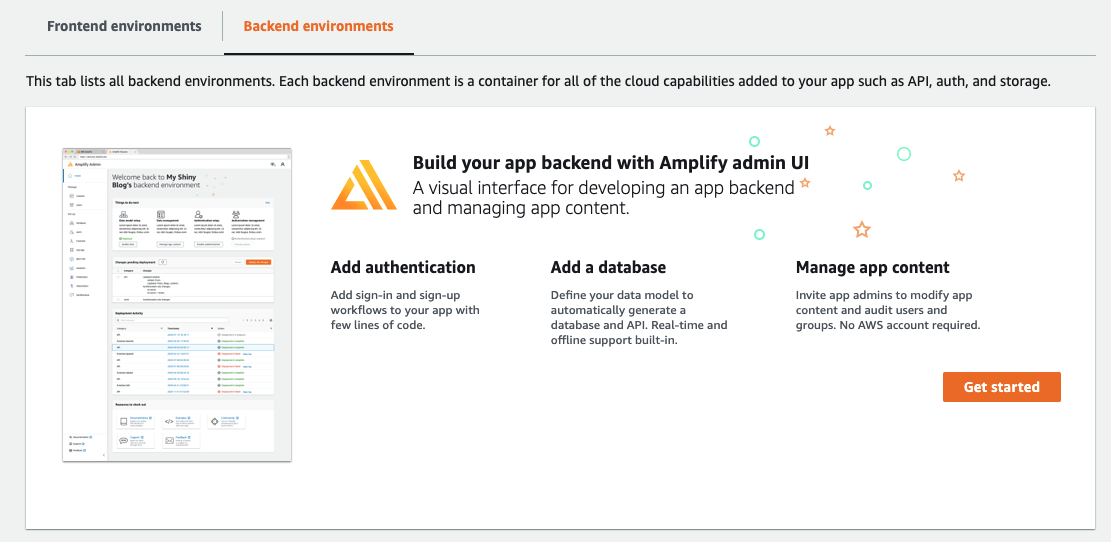
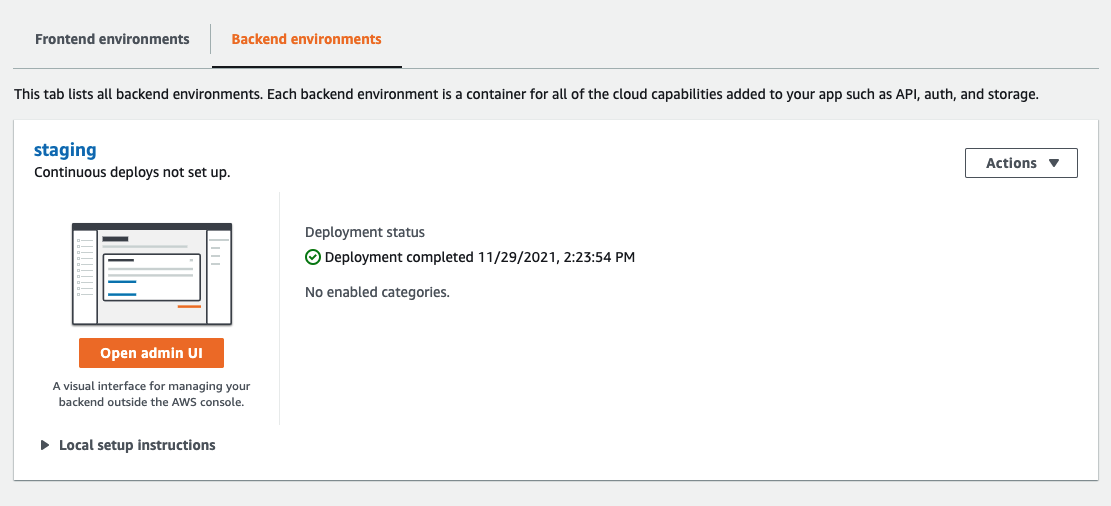
This initiates a process using CloudFormation that builds an Amplify staging backend environment. It will take a few minutes to complete. The backend tab will now allow you to open the admin UI. Please do that now.
It's probably a good idea to do several tutorials on how to use Amplify. Once the admin dashboard is open you can see how many backend features it offers. For now, we want to focus on authentication so select Authentication on the left side.
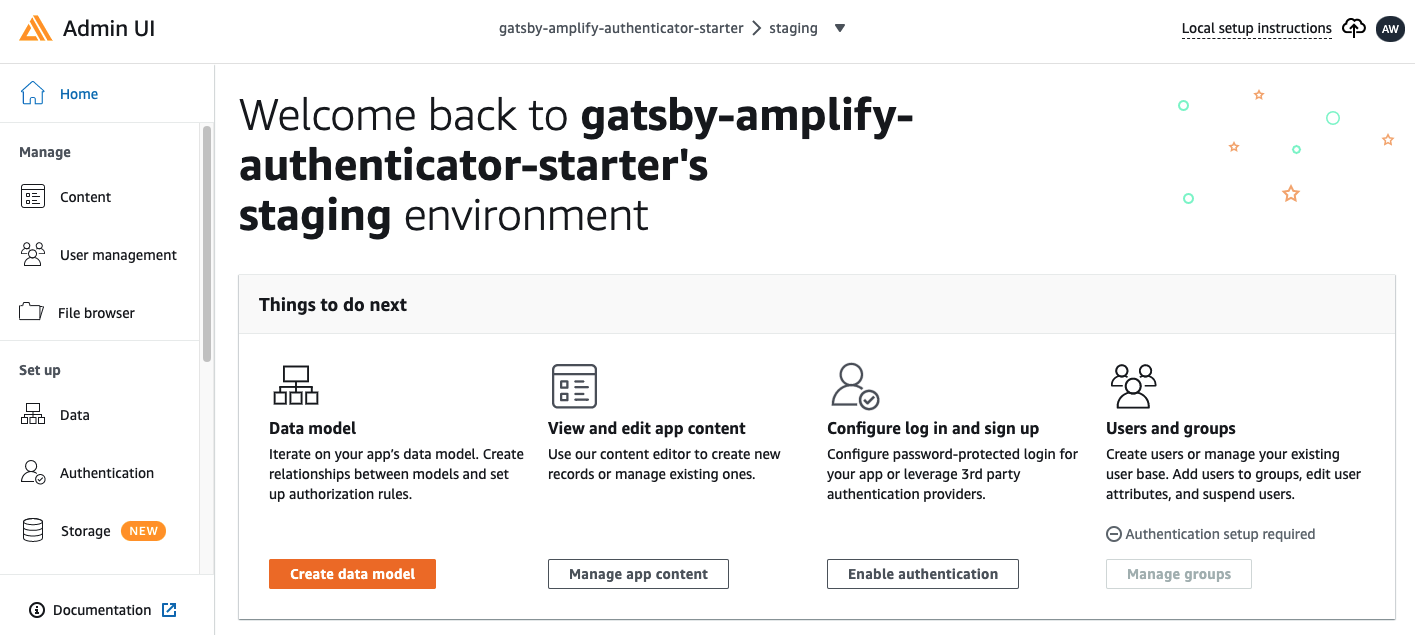
For this exercise, we will limit the authentication methods to Email but if you select the drop-down "Add login mechanism" you can add Google, Amazon and Apple as authenticators. We won't make any changes here, for now, select "Deploy" at the bottom of the form when you're ready and then confirm the deployment. Wait for this process to complete.
When the deployment is finished, you should be able to click on "Deployment successful - click for next steps" in the top right corner.

Copy the amplify pull command to the clipboard. It will look like the line below but will contain your appId:
amplify pull --appId XXXX --envName staging
Navigate to your local copy of the repository and run the command at the root of the project folder. It will open a browser window for you to confirm the login to the Admin UI. Select all of the defaults. Once complete you should see a new folder in your explorer called "amplify".
Before we work on modifying the login template supplied in the repository, let's create a new page and see how it looks before we customize it.
Create a new page in the src/pages folder called login.js and copy the code below into it:
import React from 'react'
import { Amplify } from 'aws-amplify'
import { withAuthenticator } from '@aws-amplify/ui-react'
import '@aws-amplify/ui-react/styles.css'

import awsExports from '../aws-exports'
Amplify.configure(awsExports)

const Login = ({ signOut, user }) => {
  return (
    <div>
      <h1>Hello {user.username}</h1>
      <button onClick={signOut}>Sign out</button>
    </div>
  )
}

export default withAuthenticator(Login)
Start the development server by running yarn develop and navigate to http://localhost:8000/login

You know have a fully functional authentication component. Try creating a test account to see how it works. After you create your account navigate back to the Admin UI and select the "User management" tab. You should see the account listed. Pretty cool.
Now, let's update the Tailwindcss example so the login page would match the design of the website you are building.
Update index.js with the following code:
import React from 'react'
import { Amplify } from 'aws-amplify'
import { Authenticator } from "@aws-amplify/ui-react"

import awsExports from '../aws-exports';
Amplify.configure(awsExports)

const Index = () => {
  return (
    <>
      <div className="min-h-full flex">
        <div className="flex-1 flex flex-col justify-center py-12 px-12 sm:px-6 lg:flex-none lg:px-20 xl:px-24">
          <div className="mx-auto w-full max-w-sm lg:w-96">
            <div>
              <img
                className="h-12 w-auto"
                src="https://tailwindui.com/img/logos/workflow-mark-indigo-600.svg"
                alt="Workflow"
              />
              <h2 className="mt-6 text-3xl font-extrabold text-gray-900">Sign in to your account</h2>
            </div>
            <div className="mt-8">
              <div className="mt-6">
                <div className="sp-y-6">
                  <Authenticator>
                    {({ signOut, user }) => (
                      <main>
                        <h1>Hello {user.username}</h1>
                        <button onClick={signOut}>Sign out</button>
                      </main>
                    )}
                  </Authenticator>
                </div>

              </div>
            </div>
          </div>
        </div>
        <div className="hidden lg:block relative w-0 flex-1 ml-10">
          <img
            className="absolute inset-0 h-full w-full object-cover"
            src="https://images.unsplash.com/photo-1505904267569-f02eaeb45a4c?ixlib=rb-1.2.1&ixid=eyJhcHBfaWQiOjEyMDd9&auto=format&fit=crop&w=1908&q=80"
            alt=""
          />
        </div>
      </div>
    </>
  )
}

export default Index
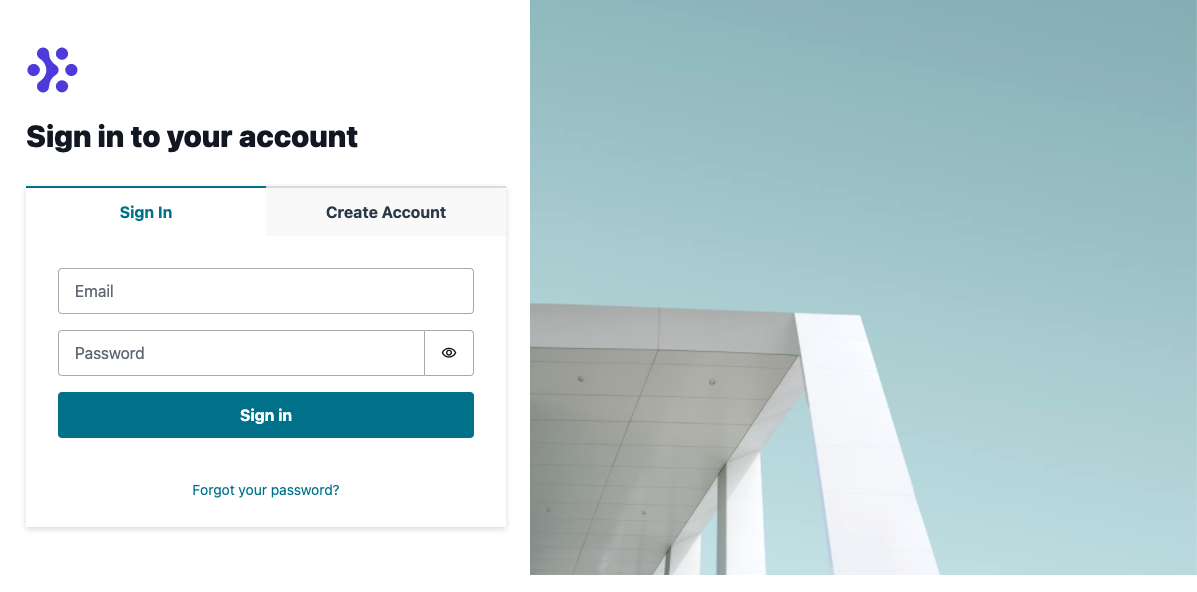
The login page should look like this now:
We created an Amplify application, configured authentication and added a login workflow to a Tailwindcss site. We didn't get into the component design of the new authenticator or add site context to manage authentication status throughout the site but it's not a bad start. I'll be adding new posts as I add these additional features.
